Profile and preferences
Purpose
Your profile page is the hub for everything about you as a Senti user: your display name, phone number, and avatar; whether Senti emails you about trades and bot status; and quick links out to Subscription, Password, Security activity, and API Keys. This page walks through each block of the profile page, the email-notifications toggle, and the file-upload area — and points you to the right pages for the destructive actions in the Danger zone.
Prerequisites
- A Senti account you can sign in to — see Create your account.
- To change your email’s Verified status, access to your email inbox (the verification link is sent there).
Step-by-step
Update your personal information
-
Open the profile page from the user menu — choose Profile Settings — or navigate to
/profile. The page is titled Profile and the first card is Personal information. -
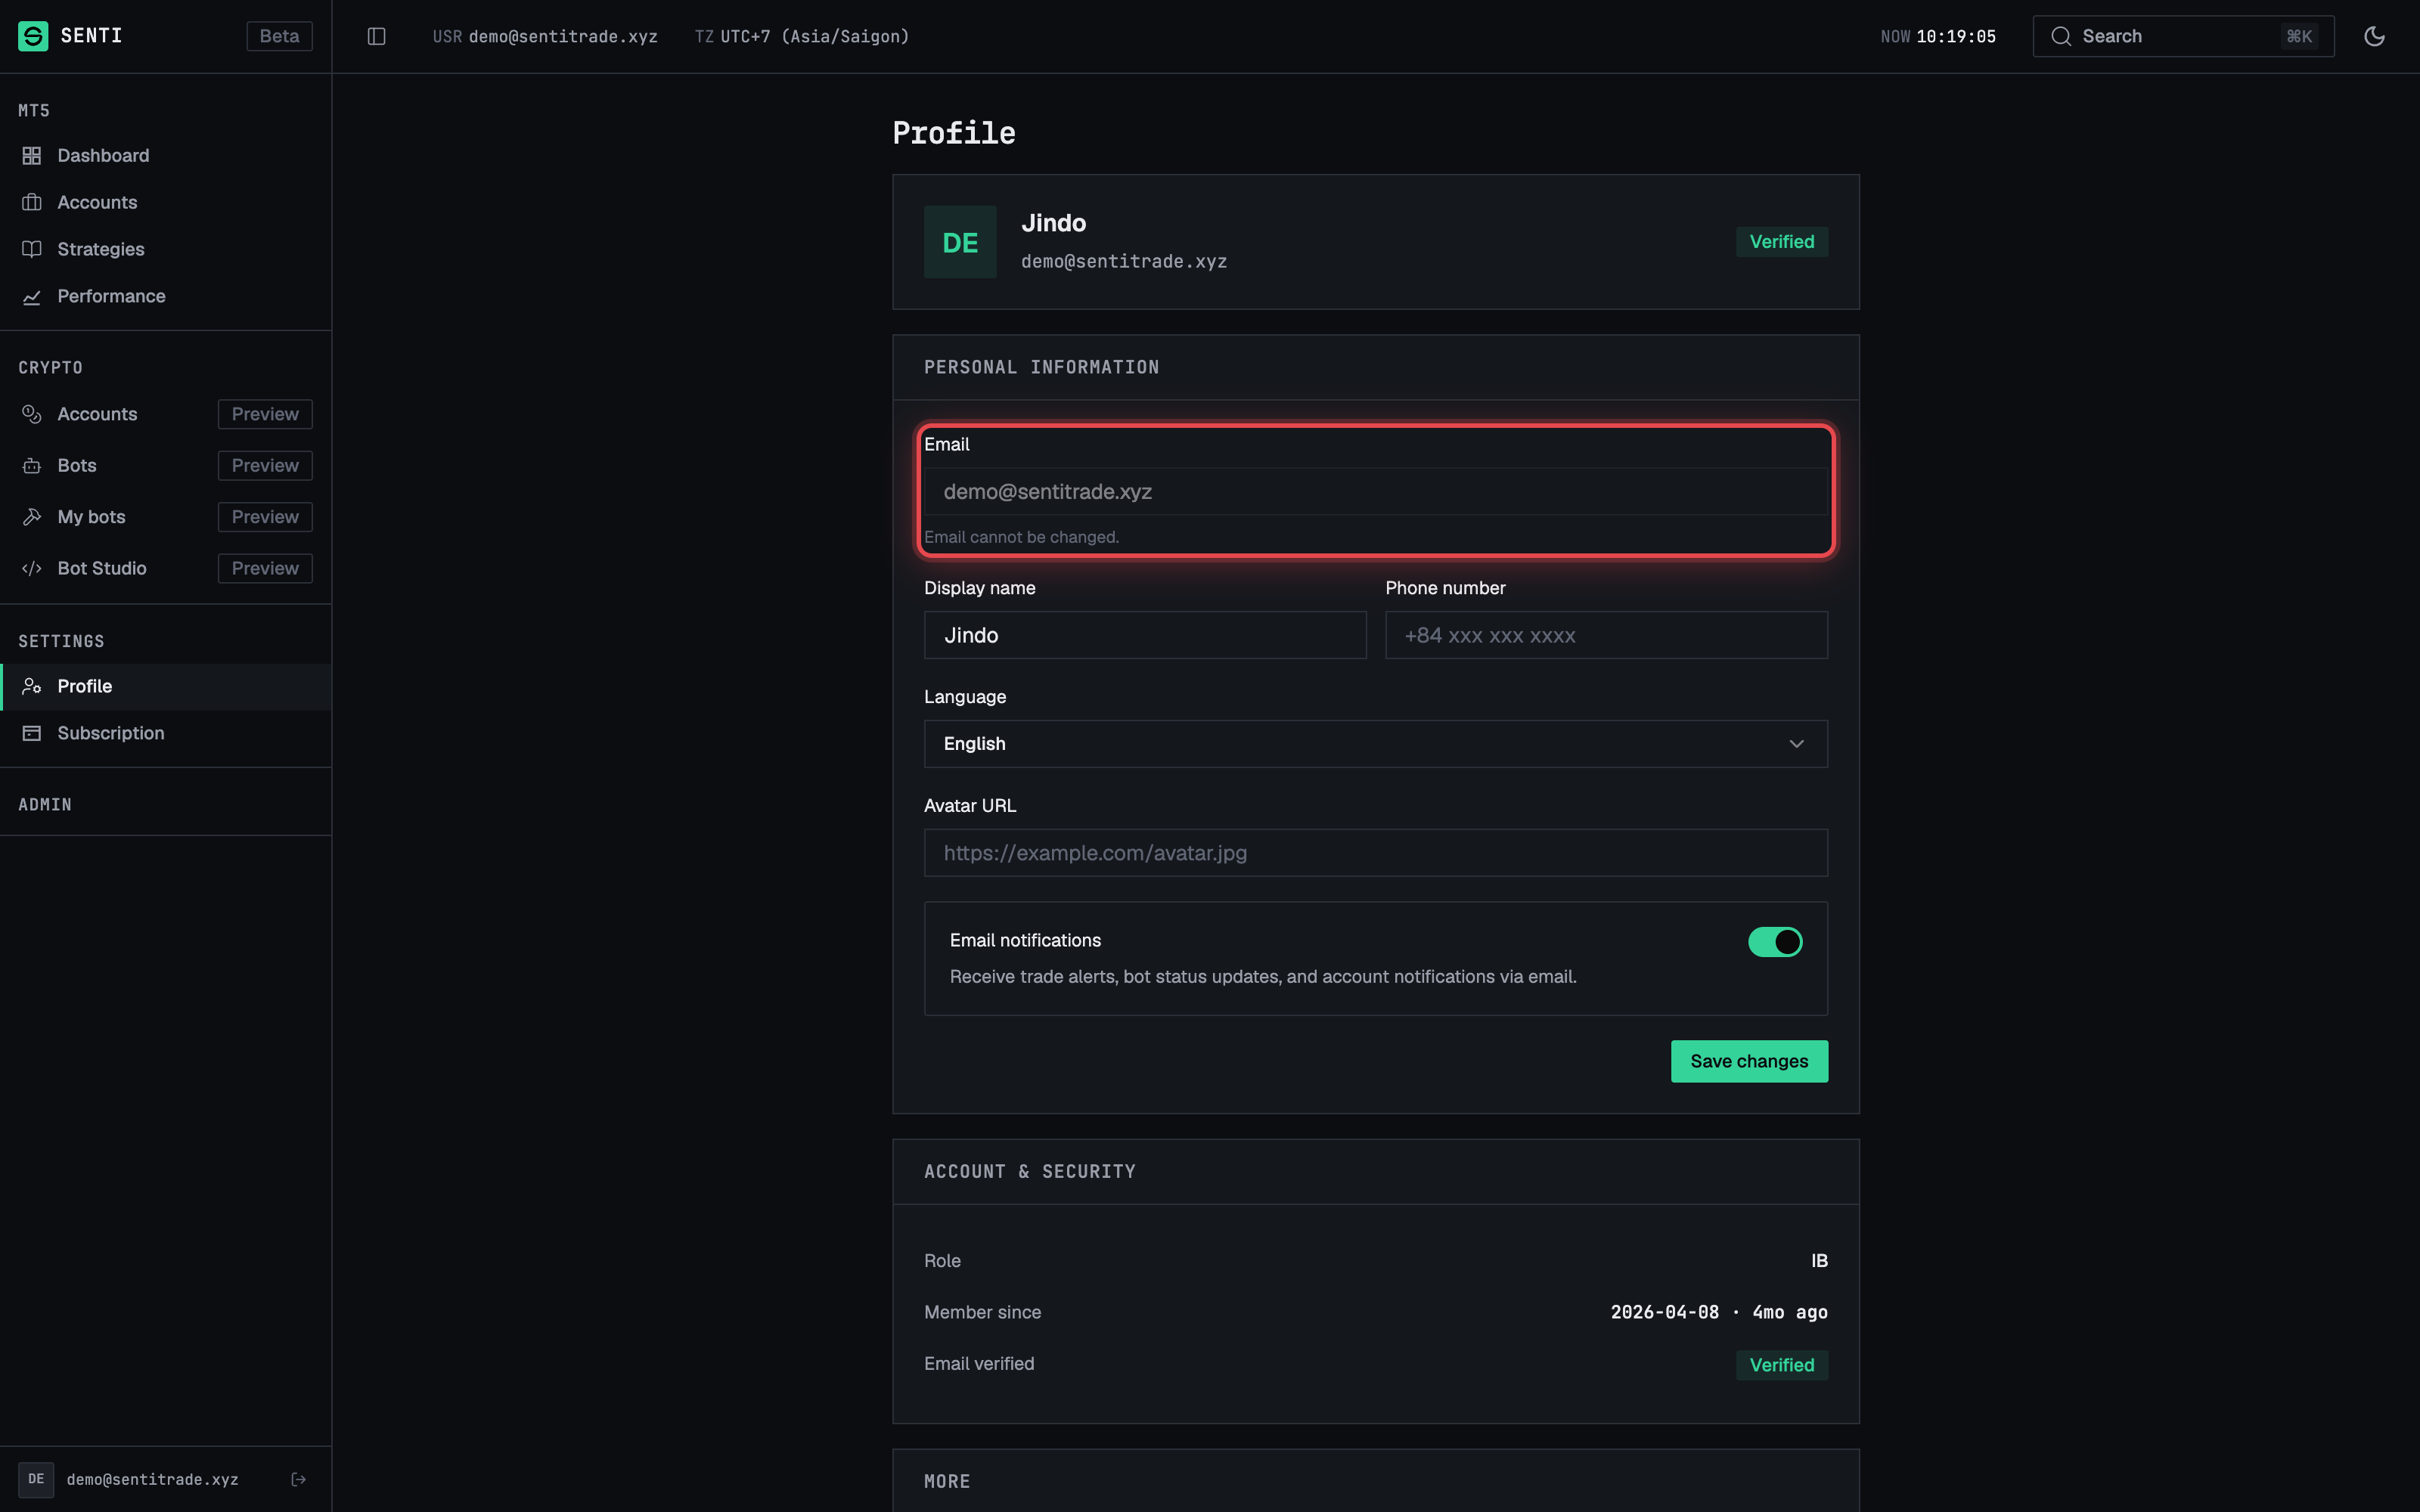
Check your email row. Your Email is shown read-only with the helper text “Email cannot be changed.” Next to it is a Verified or Unverified badge.
Note. If your email is unverified, some account actions may be limited. Use the Resend button in the Account & security block (below) to get a fresh verification link — you’ll see “Verification email sent. Check your inbox.”
-
Set your display name in the Display name field (placeholder “Your display name”). This is the name shown across the app.
-
Add a phone number (optional) in the Phone number field (placeholder
+84 xxx xxx xxxx). -
Set an avatar (optional). Paste an image URL into the Avatar URL field (placeholder
https://example.com/avatar.jpg). A live Avatar preview shows the image before you save. -
Press “Save changes”. The button shows Saving… while in flight, then you’ll see “Profile updated successfully.”
Turn email notifications on or off
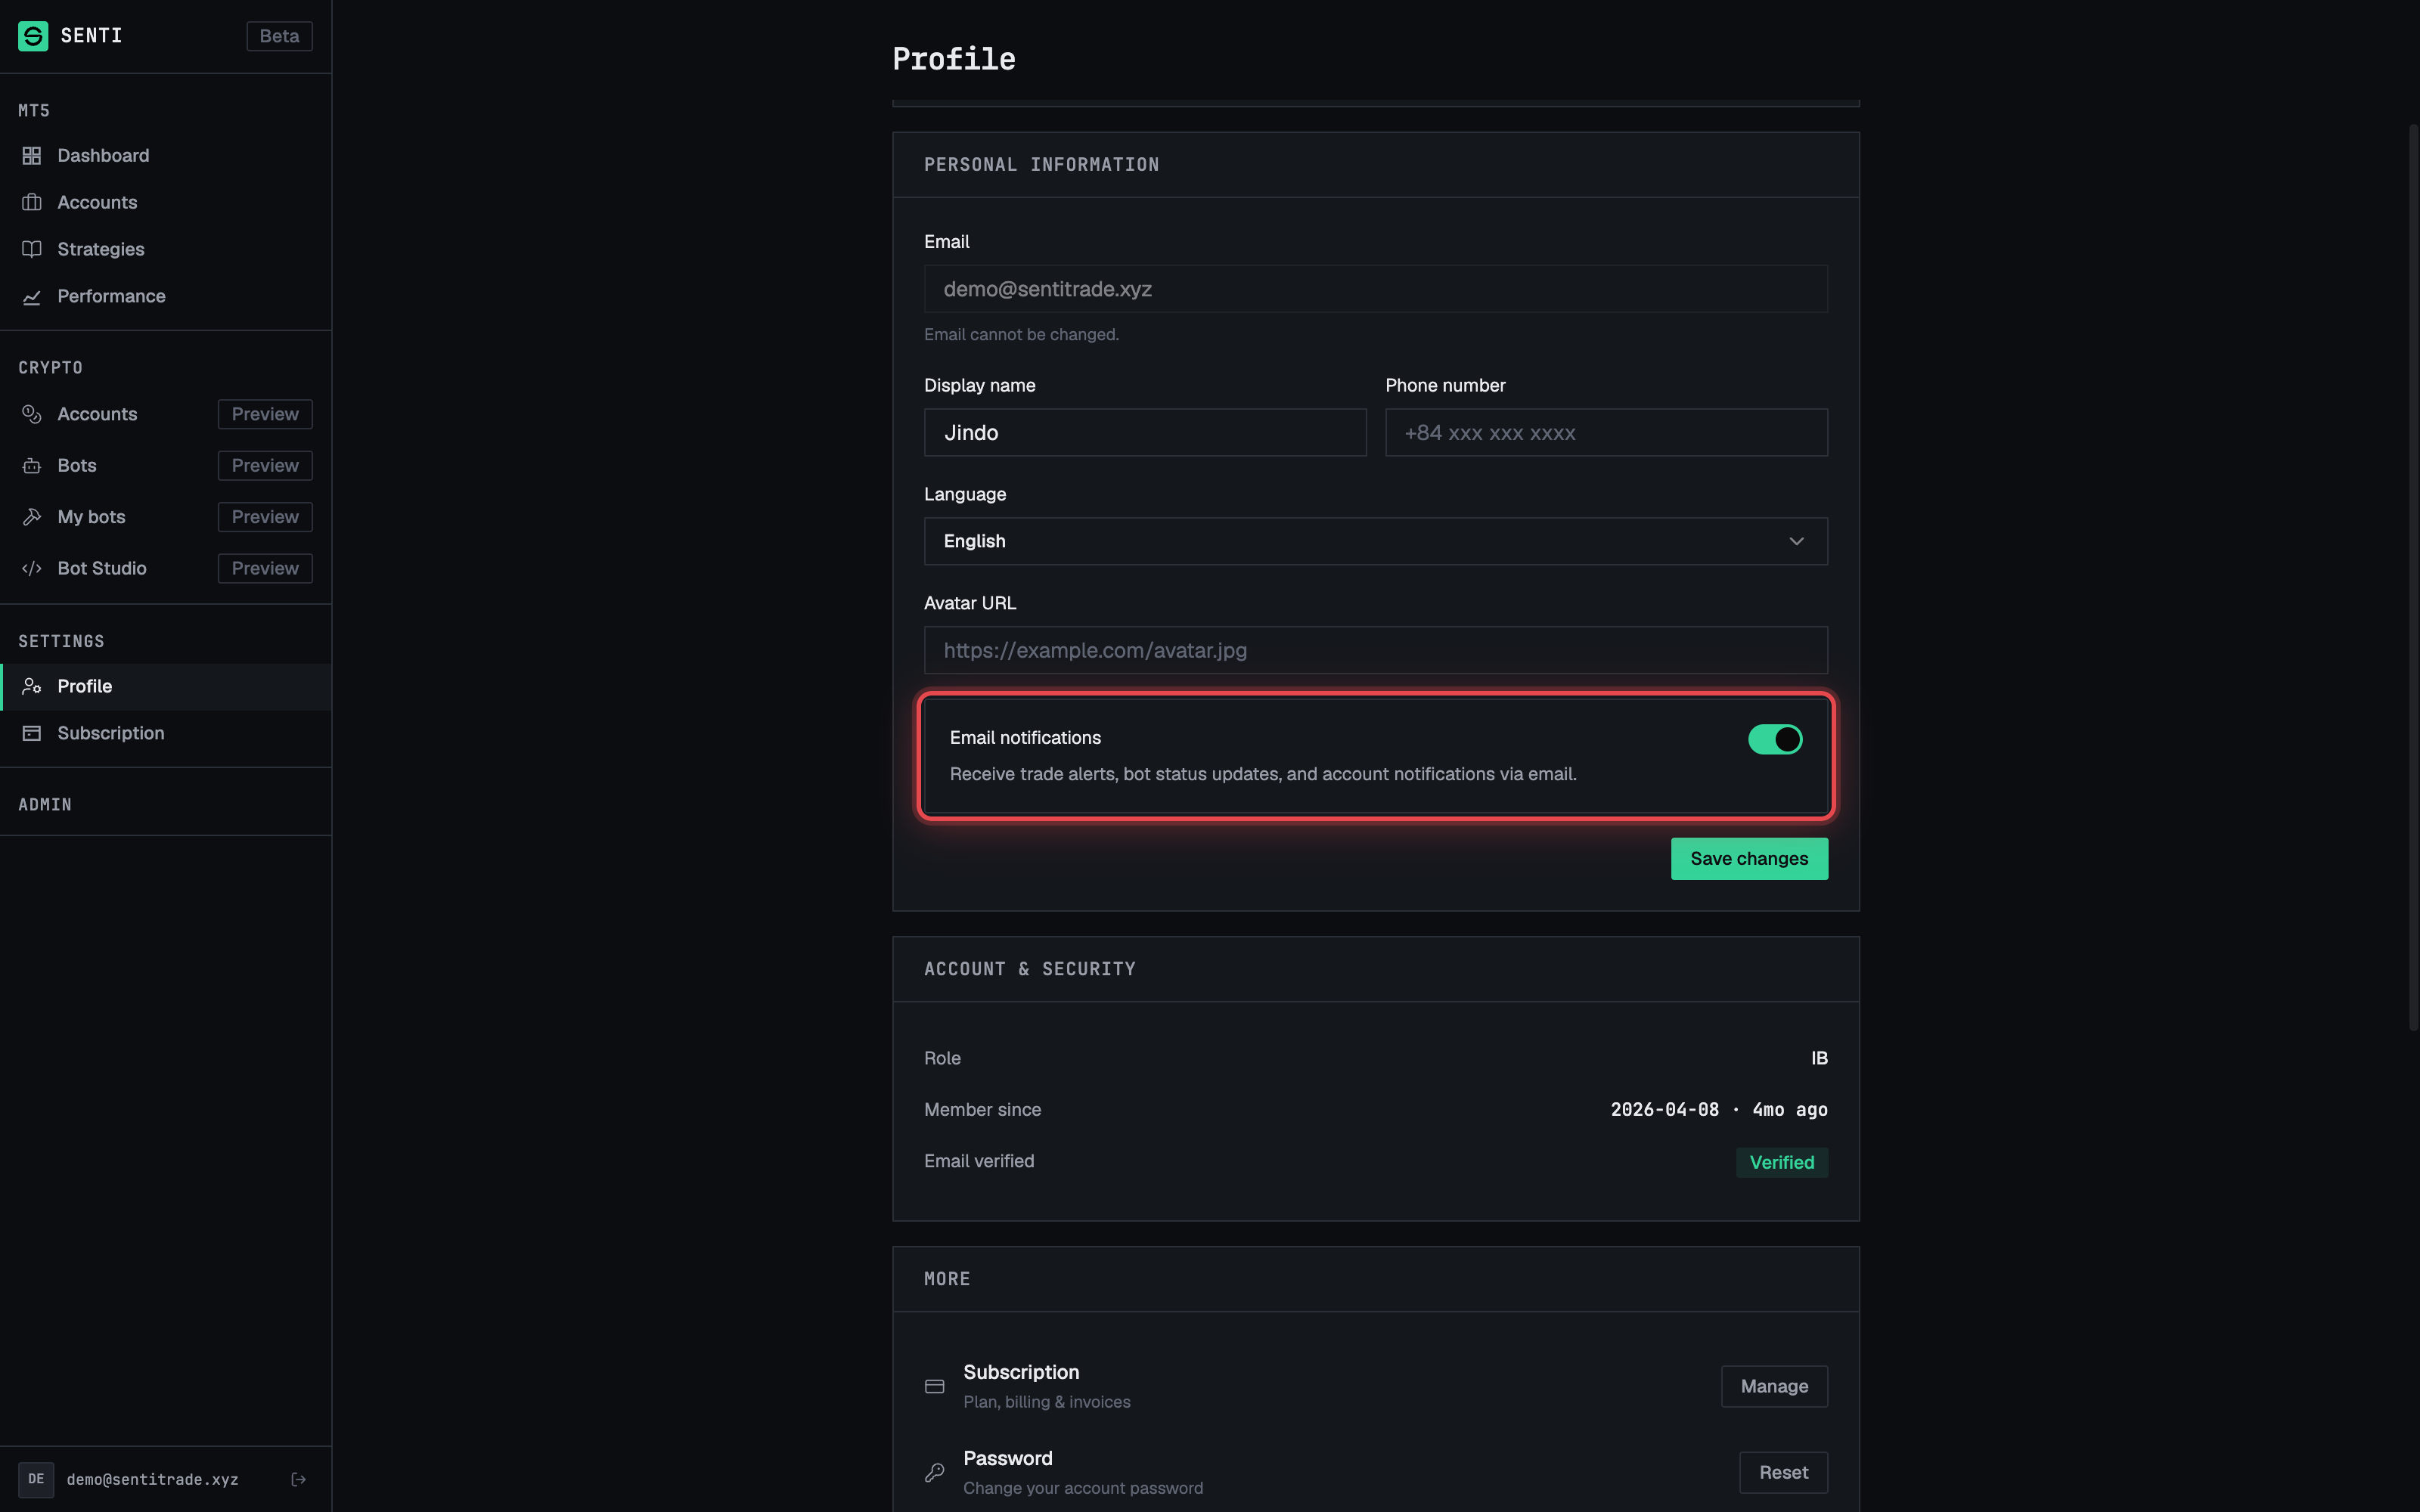
- Find the “Email notifications” toggle on the profile page. Its helper text reads: “Receive trade alerts, bot status updates, and account notifications via email.”
- Flip the toggle to your preference and press “Save changes”. When off, Senti stops sending those emails; in-app notifications are separate and unaffected by this toggle.
Review Account & security and the More links
- Read the “Account & security” card. It shows your Role, Member since date, and Email verified status (with Resend if not verified).
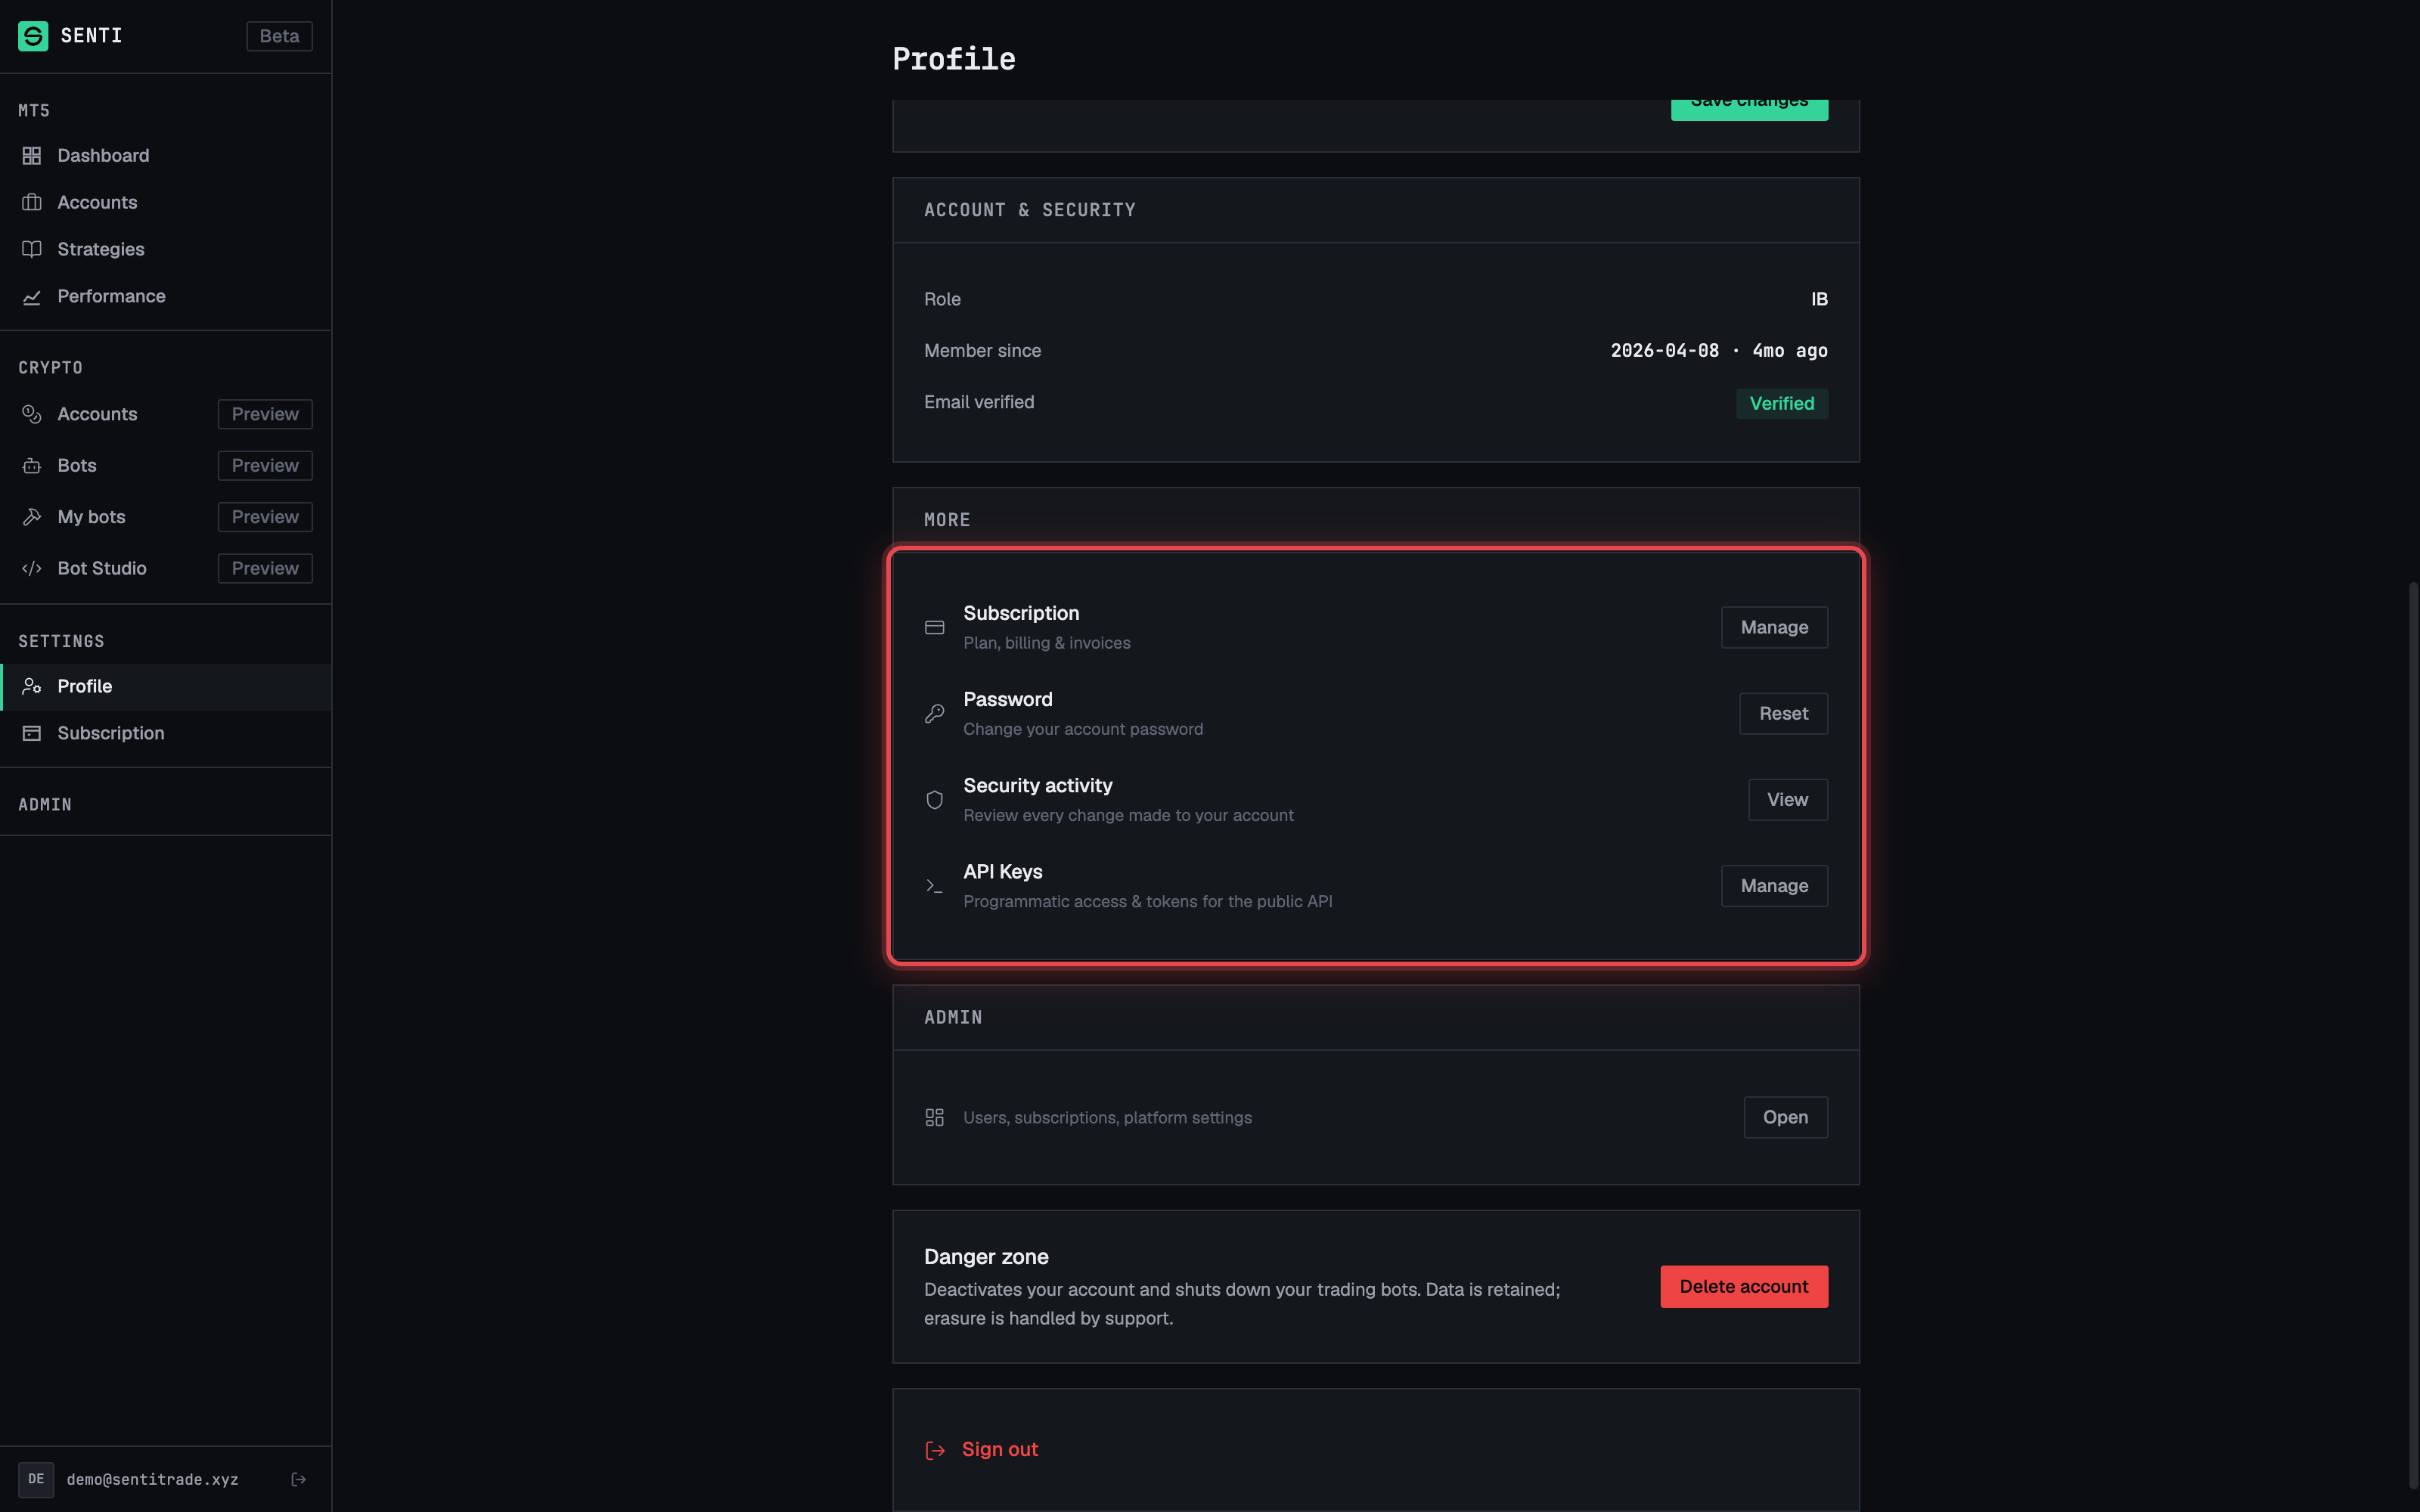
- Use the “More” list to jump to related settings:
- Subscription — “Plan, billing & invoices” → Manage. See Plans & billing.
- Password — “Change your account password” → Reset.
- Security activity — “Review every change made to your account” → View. See Security activity and account deletion.
- API Keys — “Programmatic access & tokens for the public API” → Manage. See API keys.
⚠️ Danger zone. At the bottom of the profile page is the Danger zone card: “Deactivates your account and shuts down your trading bots. Data is retained; erasure is handled by support.” The Delete account button starts the account-deletion flow — read Security activity and account deletion before pressing it.
- Sign out with the Sign out button when you’re done (it shows Signing out… briefly).
Upload and manage files
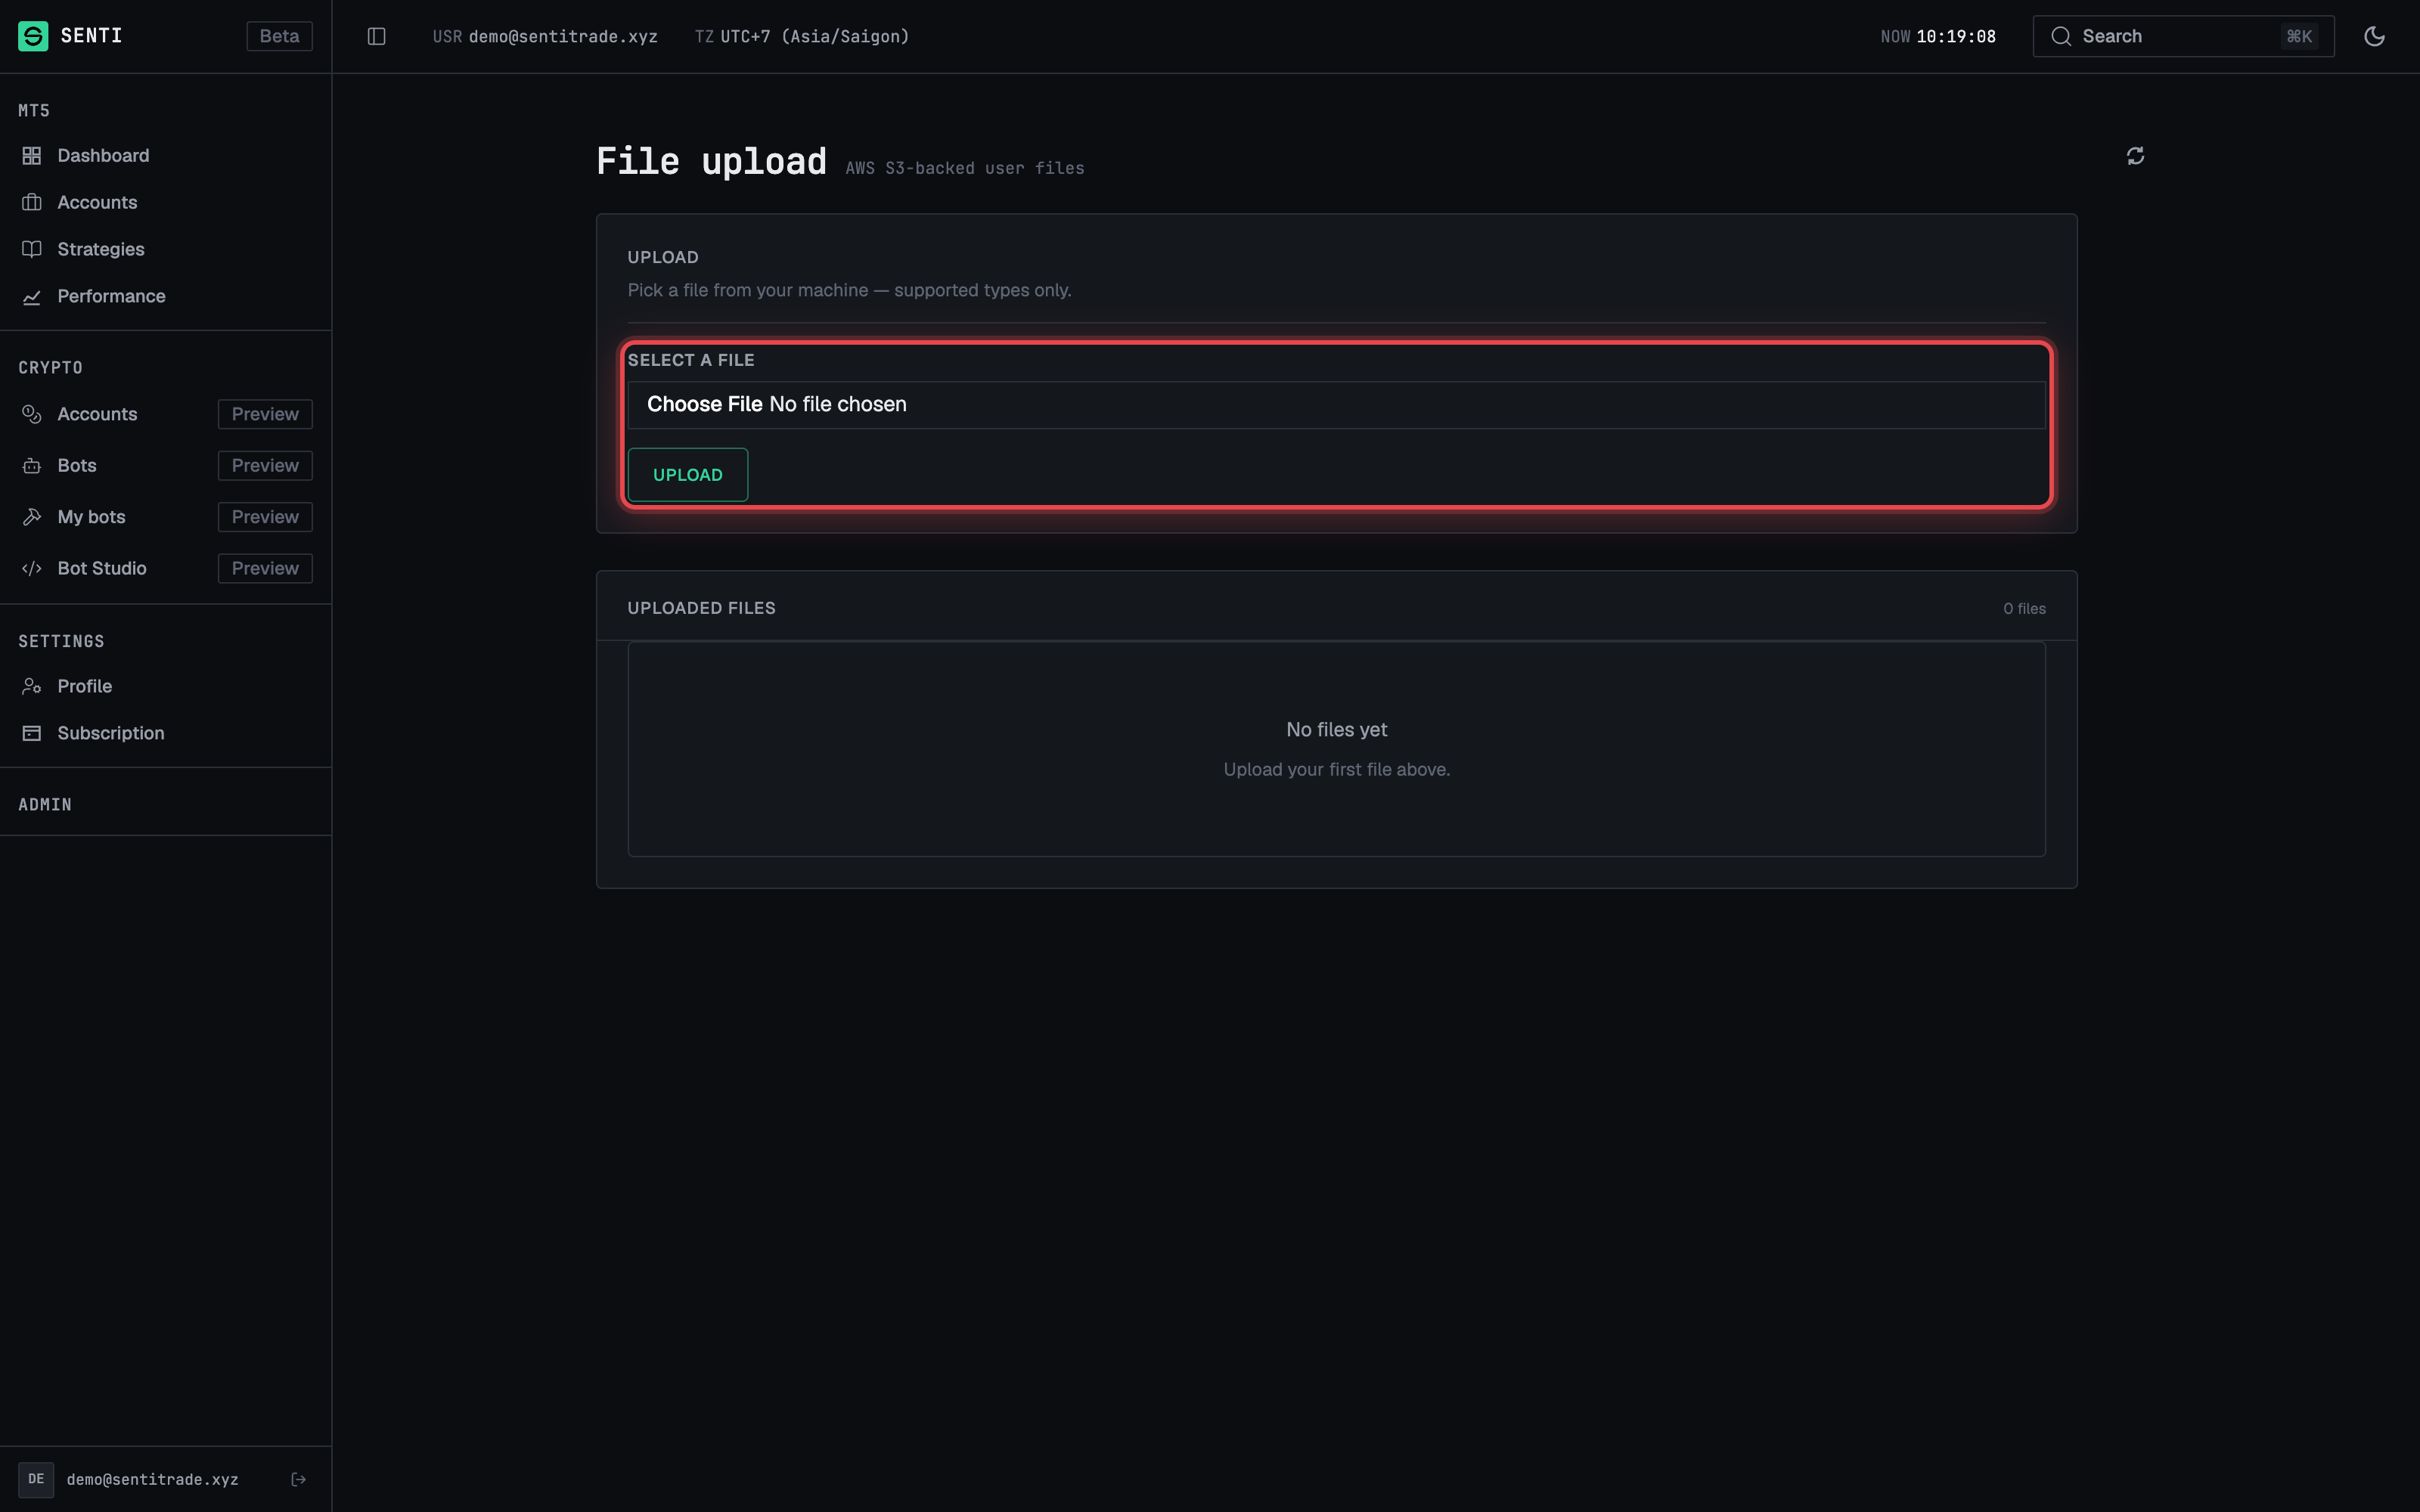
Senti includes a simple file area at /file-upload for uploading, listing,
downloading, and deleting your own files.
- Open
/file-upload. - Choose a file and upload it. Allowed types are JPEG, PNG, PDF, text files, and MP4/QuickTime video, with a maximum size of 5 MB per file. Files outside these limits are rejected before upload.
- Manage your files from the list on the same page — each file can be downloaded (via a time-limited signed link) or deleted.
Warnings & constraints
⚠️ Your email address cannot be changed. The email field is read-only — “Email cannot be changed.” If you need a different address, contact support.
- The Email notifications toggle covers “trade alerts, bot status updates, and account notifications” delivered by email; it does not delete or hide in-app notifications.
- File uploads are limited to 5 MB and to the allowed types listed above.
- The avatar is set by URL, not by file upload — the image must be hosted somewhere publicly reachable for the preview (and the app) to display it.
- The Danger zone and account deletion are irreversible past their cooling-off period — see the dedicated page before acting.
Common errors
| Symptom | Cause | Fix |
|---|---|---|
| Email shows an Unverified badge | You haven’t clicked the verification link yet | Press Resend in Account & security, then open the link in your inbox |
| Avatar preview stays blank | The Avatar URL doesn’t point to a reachable image | Use a direct, public image URL (e.g. ending in .jpg/.png) |
| No trade/bot emails arriving | Email notifications toggle is off, or mail is in spam | Turn the toggle on, save, and check your spam folder |
| File upload rejected | File exceeds 5 MB or its type isn’t allowed | Compress/convert to JPEG, PNG, PDF, text, or MP4/QuickTime under 5 MB |
| Changes don’t stick after editing fields | You edited fields but didn’t press Save changes | Press Save changes and wait for “Profile updated successfully.” |